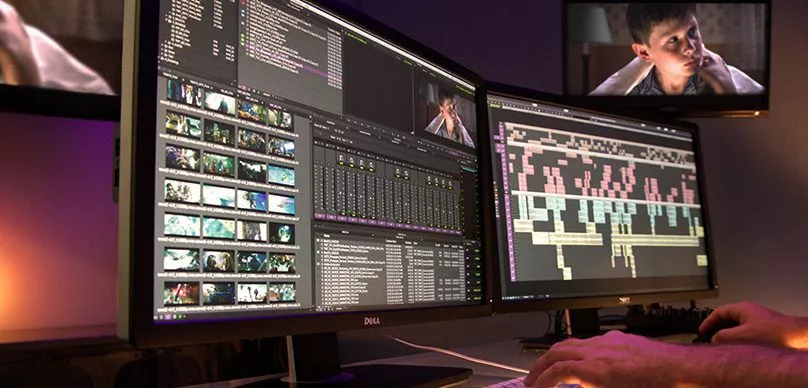
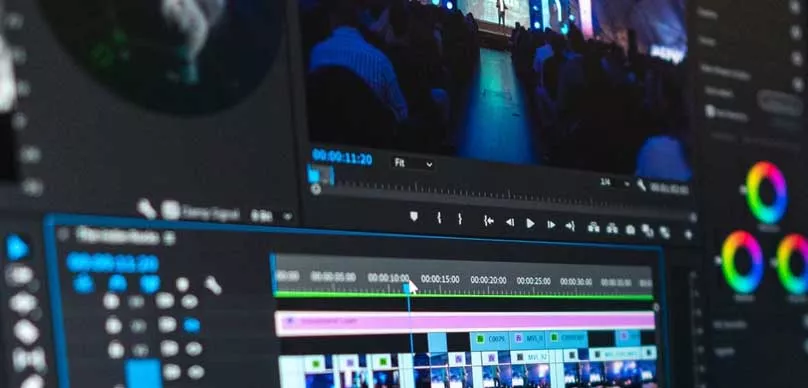
So, what is color correction and what is color grading? How do they differ? What are the best practices and tips for each? We’ll go over the different types of color correction and grading tools available to you, as well as the benefits and drawbacks of each.
What Is Color Grading?
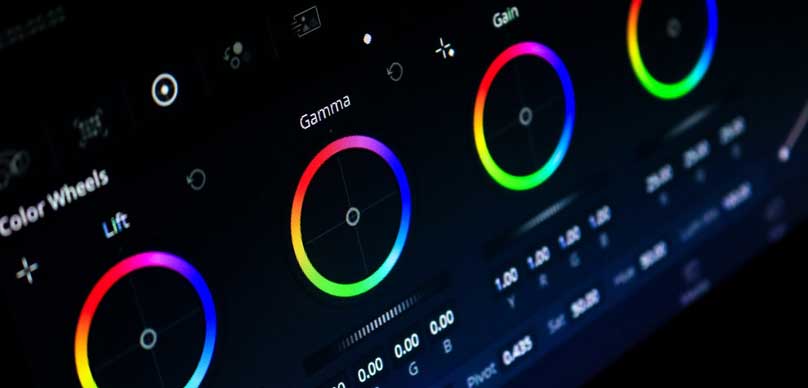
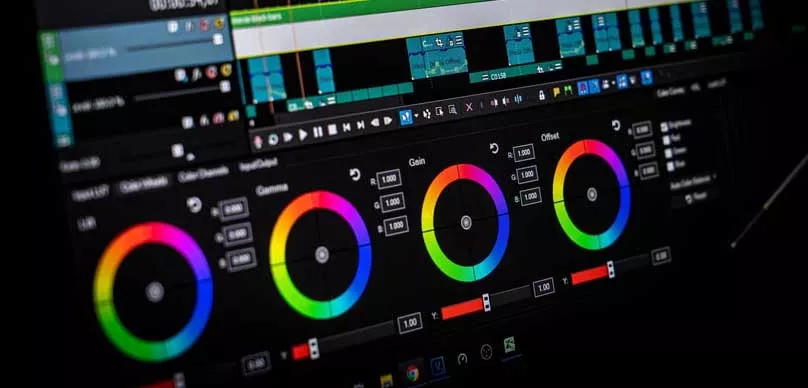
Color grading is a process of stylizing the color and tones of your footage, so that you get to see all of the creative decisions that your digital colorist has made. The colorist will use color grading software, like the industry standard Davinci Resolve, to stylize the footage, emphasizing the visual tone and atmosphere of a movie, and making it look more cinematic.
What Is Color Correction?
Color correction is a term that encompasses all the processes of correcting colors, saturation, brightness, exposure, contrast, white balance, and other visual adjustments in post-production.
A film colorist works closely with a film’s director and cinematographer to ensure that the finished film looks exactly how the director wanted it to. It’s purpose to to match real world lighting conditions and looks.
What is Color Hue?
The hue is the color itself. It is the difference between blue and red. We’ll cover saturation and brightness when we give you a few paragraphs about hue. The basic color concerns of any video image are known as “HSB”.
Sometimes a hue doesn’t have to be a primary color. A fair skin tone is a brown hue that has little saturation and a lot of brightness.
A white hue, on the other hand, is very bright and has almost no saturation. A hue can be “warm” or “cool.” Warm hues have a yellowish cast, while cool hues have a bluish cast. The difference between warm and cool hues is the color temperature of the light source used to create an image. Hue is the color itself. It is the difference between blue and red.
What is Color Temperature?
Color temperature is a measure of the physical color of a light source, measured in degrees Kelvin (K). The term is used to describe the color of incandescent lighting, fluorescent lights, and other types of lamps.”
In general, the higher the temperature of a color, the more red it will appear, while the lower the temperature, the more blue it will appear.
Color temperature is measured on a scale that ranges from 2500K to 10000K. In general, colors with a color temperature of 5000K to 6000K are considered warm and are associated with creativity and relaxation, while colors with a color temperature of 3500K or below are considered cold and are associated with being logical and efficient.
When we look at a light source, it looks like a light bulb. But the actual light bulb emits a range of colors of varying intensities. For example, a red light will appear brighter than a blue light of the same intensity.
A white light is the sum of all the colors of the spectrum, which is the light emitted by the sun. This white light is called “white” because it’s perceived as “whiter” by our eyes than a pure red or blue light of the same intensity.
What is Color Saturation?
When we talk about color saturation, we are referring to the intensity or the amount of color that exists within a given area of a digital image or graphic design. The color saturation can vary based on the level of contrast or the type of imagery used.
High saturation images often contain many different shades of gray. A high saturation image will be very bright because there is a high contrast between light and dark areas.
In general, if your scene has a high saturation, it’s a pretty good indication that it has a high contrast. If you see a very saturated image, the photo probably has a lot of detail in the shadows and highlights. The opposite of saturation is value. Value refers to the darkness or lightness of an area.
Darker values will have less light and lighter values will have more light. Contrast refers to the difference between the lightest and darkest areas. In a high contrast image, the difference between the lightest and darkest parts of the image is large.
What is Color Brightness?
Color brightness is the amount of light that is in the image. It is measured in terms of how much light is in the space of a certain color. The color of a scene is determined by the light in the scene, so brighter colors are usually from a lighter area of the scene.
As the camera records footage of the scene, it converts the light into electronic signals. These signals are translated to computer files, which are used to make digital images on a computer monitor. The images can be viewed and manipulated by the user using software.
How to Color Grade a Film Like a Pro
The tool of choice by colorists around the world is DaVinci Resolve. It is the grand daddy of color grading systems. DaVinci Resolve is a powerful non-linear color grading and editing application for macOS, Windows, and Linux. Originally developed by DaVinci Systems, it was acquired by Blackmagic Design in 2009.
Let’s go over the basics of working not only on Resolve but any major color grading systems.
Choose a Picture Profile
Your camera has pre-determined picture profiles that help you create footage that is consistent in look, like color, saturation, and tone. A picture profile is a set of parameters for your footage that sets the baseline characteristics of your video, so it is easier to make it look consistently like every other footage from that type of camera.
White Balance
Color correction is a process of defining the color of the white balance. It also involves establishing the correct level of the white balance. Defining the white color is another part of the basic color correction process.White balance is based on the Kelvin temperature scale. There are 3 types of white balance definition: Kelvin, RGB and HSL.
The Kelvin white balance definition uses the Kelvin temperature scale and is very similar to the RGB definition. The RGB white balance definition uses the red, green and blue color channels.
What are Curves?
Curves are an essential tool when it comes to color grading. They can be used for precise color correction and color grading, and they will allow you to make subtle changes to shadows, midtones, and highlights with more precision.
You can control the entire color channel shift with any movement of the drag points, and you can also zoom in and make small adjustments as needed. The change isn’t isolated; it’s dependent on the entire color channel shift. It’s a gradual change rather than a big extreme change. You can always zoom in and add another drag point.
Three-Way Corrector
The most basic and essential tool for every colorist is the three-way corrector. It’s the first and most important step in almost every edit. It allows you to easily see and correct a variety of mistakes, such as clipping, blacking out areas, and adding or removing information from the timeline.
The corrector also helps you correct any issues that crop up during the post-production process, such as color, audio levels, and exposure.
Color Qualifiers
Color qualifiers are used to improve the quality of a digital color image by automatically adjusting one or more characteristics of a digital image, such as sharpness, brightness, contrast, saturation, hue and/or gamma. This article will cover the three main areas of color qualifiers – red, blue and green – and show how each of these can be used to improve your film post production.
Adjust Your Tones
Capturing great footage means balancing the dark tones (like black levels and shadows), highlights (the brightest light), and midtones (the mid-range between black and white) in your camera. All these elements are important in determining how much light your image needs.
Scopes are Your Friend
Scopes are useful color-monitoring tools that provide extra-detailed color information. For example, the vectorscopes in color correction software measure chrominance values like hue and saturation—your reds, greens, and blues (RGB). This is especially helpful for colorists when trying to color balance natural skin tones, as this color tool measures hue levels more precisely than the human eye.There are two types of scopes: RGB and HSL. The difference between the two is that RGB scopes display only one color at a time, while HSL scopes allow you to view all three colors at once.
HSL scopes are more useful for color grading images and video, since it’s easier to see how a particular color is affecting the overall look of the picture.
The Magic of Power Windows
Power windows are a form of vignetting and are also called Color Masks. They can be used to create a very specific look or to just make a scene a little more interesting.There are different ways to apply power windows. The most obvious is to cut a hole out of the window frame in a scene that you want to be brighter than the rest of the picture. That hole can be either on the top or bottom of the window. It can be a great way to add character or depth to your images.
Color Matching
Color Match allows you to overlay a virtual color chart of your choice on top of your source footage. Simply choose your color chart and camera settings, and then turn on the Color Chart in your viewer by navigating the drop down menu on the bottom left of the window.
Using LUTs
The lookup table (LUT) is an essential tool for any colorist working on digital video. It allows them to quickly apply pre-set color settings to the footage after it has already been shot.The tools that are part of Match Color will not only give you access to presets, but they’ll help you work faster by adapting the colors to match your original reference frame.
Secondary Color Correction
Before you take the next step in editing your images, it’s important to do a quick color correction. This step will give you a starting point from which to make your edits.
After the color correction, you should use a secondary correction to remove any areas that are too bright, too dark, or out of place.
Final Changes
The final step of the color grading process is to make any final color adjustments to the video, including making changes to the brightness and hue of the picture.You can do this using additive color options, which gives you greater control over the color of the final image.
In conclusion, Color Correction is basically the process of making adjustments to color balance, contrast, exposure and tinting on images from video footage to produce the best-possible look for the finished product.
Color Grading, on the other hand, involves using a combination of color grading software, along with a variety of tools, including the use of various filters, adjustment layers, and effects to create a more specific look for the finished product. T
his article covers the basics of the two processes and helps filmmakers understand the differences between the two and when one might be used instead of the other.

